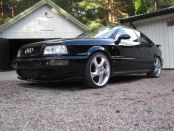
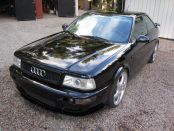
A 1994 Audi S2 Coupé being built like the RS2 Coupé that Audi forgot back in the 90's. With some bits and pieces from the new performance Audis. Click on "read more" to read the full specification of the Bathmobile and to see the full shocking list of all parts bought to the car and the total ammount of money spent on it.
The 2011 summer and autumn catch up post!
Written by NEO November 20 2011 at 22:18. Last updated November 21 2011 at 06:20.
This year I have had some issues with lack of inspiration and the spark just haven't been there. So the lack up updates here on Irry is mostly because not much have happened with the car. But this weekend I finally did some more work with the brakes so today feels like a good day to post a little update.
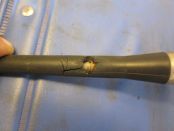
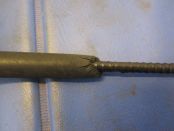
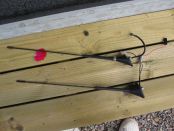
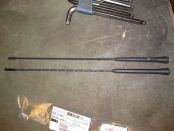
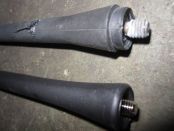
As the returing reader might remember my antenna did look a bit sad in the beginning of the summer. I did buy a new one and it was replaced, it did wonders for the radio reception.
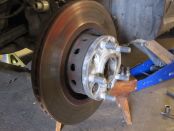
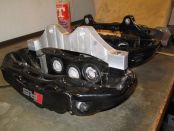
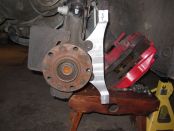
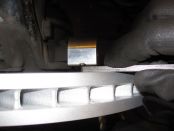
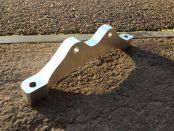
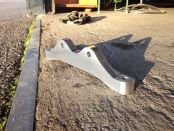
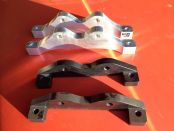
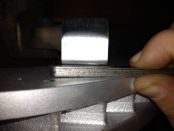
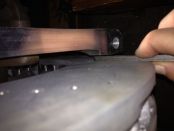
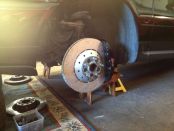
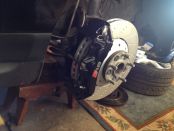
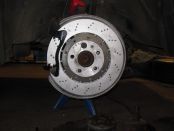
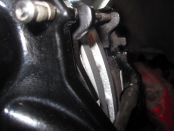
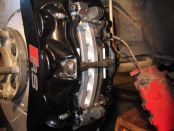
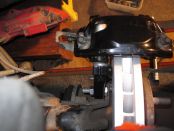
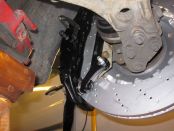
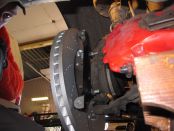
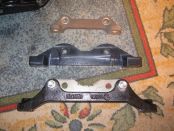
I also received the prototype for the RS6 C6 caliper brackets. For a first prototype it looked great and all crucial measurements were spot on! There are some strange stuffs going on with the caliper mounts on my driver side wheel bearing housing. I first thought that the bracket wasn't symmetrical since the distance between the top of the bracket to the brake disc and the same distance at the bottom of the bracket differed. I measured and measured but I couldn't make sense out of it. I came to the conclusion that I had to mount the prototype on the other side of the car because if there's something wrong with the bracket the error would follow the bracket. Surprisingly it aligned perfectly on the passenger side. I spent a few hours with it but couldn't find something wrong with the prototype so I ordered a real set of them with a few esthetic adjustments.
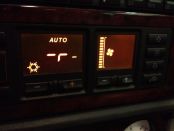
And this weekend it was finally time to try the first real set of these new brackets. They do look awesome and my fabricator have as usual done a stellar work! Since the car have been standing still for a few months I also had to test the air-condition and sadly the R134 have once again leaked out and there's a low pressure error in the ECC. #!$@£!# I'm not sure, but it might be the compressor this time since there's some oil and traces of tracer fluid on it. But on the other hand that could be from the last refill so I'm not really sure. =( I'm fairly certain I'm mad as hell about it though. =/
Anyways, as I said the brackets looks awesome and they fit perfectly. I still have some issues at the driver side but that must be something with the wheel bearing housing and not the bracket. I have tried both brackets on both sides and they both give a perfect result on the passenger side but a slight skew on the driver side. I think it's well within the margins and I will not spend more time with it for now. Instead I will focus on completing this damn upgrade so I can move on with my life! =)
UPDATE: What the hell! When reading my post after posting it I realise that there is a difference with the skewness from the prototype vs the final bracket. It's now further away at the bottom and not at the top. Oh man... I guess I will have to take another good look at this. Confusing!
Cruise control repair and interior lighting
Written by NEO July 16 2011 at 21:42. Last updated July 16 2011 at 21:54.
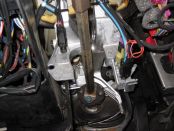
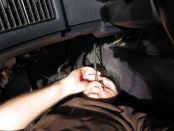
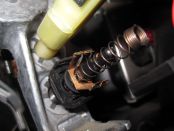
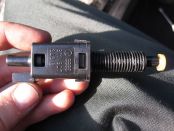
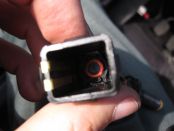
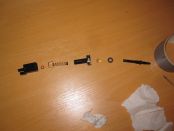
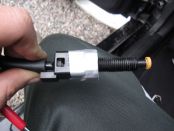
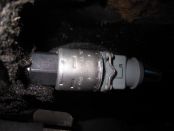
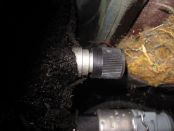
I spent a few hours in the garage this evening troubleshooting the cruise control. The key ingredients here is sucking and blowing! It sounds crazy but sucking and blowing in the vacuum hoses is a good way, maybe the best way, to localize the leak. I also used the vacuum pump in my troubleshooting and used a small 9V battery to put power on it. The system should normally be air tight except for the vacuum pump that in idle mode has the valve open. You can close that valve by adding power to one of the terminals on the vacuum pump, on a LHD car the terminal furthest to the left. But I would recommend that you remove the hose that goes to the throttle control element and the hose that goes to the coupe and suck/blow in each one of them. Both end should hold vacuum and be totally air tight. In my case it turned out that I had a leak on the coupe side and after a while it was pin pointed to the ventilation valve behind the brake pedal. I removed it (screw and pull it outwards) and opened it up and did a thorough cleaning of it and also stretched out the spring a bit. Now it seems to be fine and work as it should, test drive to follow.
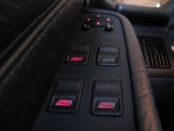
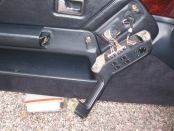
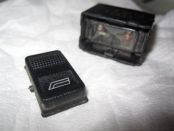
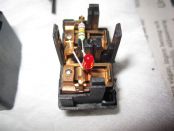
After reading the massive thread on S2Forum.com about OEM interior lighting I got inspired to fix a few of my broken lights. The LED in the passenger side window switch is dead and also one LED in one of the window switches on the driver side is dead. I did have two bulbs left since the last time I went over the interior lighting so I thought that it would be a walk in the park. The only problem being that it's LED's in those switches and not bulbs and I noticed that when it was all in pieces, bummer. =/ I should have read that thread a bit better I guess. So now I have to order a few LED's and maybe a few bulbs take it all apart again.
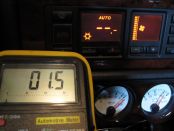
The A/C seems to be working so far! I got 1.5 degrees Celsius out from the center vent this evening. =)
I love the smell of R134 in the morning!
Written by NEO July 15 2011 at 17:30. Last updated July 15 2011 at 18:19.
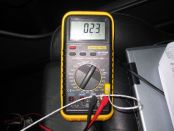
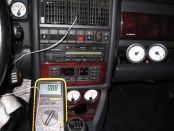
The workshop called me early this morning and said that they had time to look at my car again. So, I draged myself out of bed and rushed in. There weren't much of a discussion when I got in and we immedietly started to suck the system clean and refill it. Once refilled it worked, wooohooo! I told the guy at the workshop that I'm "carefully optimistic", after all the damn car is haunted by some evil spirit. When I drove home the lowest temp I measured in the center vent was 2.3 degrees Celsius, brrrrrr!
But it doesn't end there... After a few hours I started the car up again and measured and then I only got just below 9 degrees. The pump is for sure working all the time but feels like it lost some of its cooling abilitity, oh lord. I'm not sure what t make of it and I will do some more tests during the evening and the coming days. I mean, in worst case there could be another leak that we haven't detected yet.
I have also been thinking a bit more about the ECU and how to mount it in a better but I haven't come up with anything but I did take a picture of it, seen above.
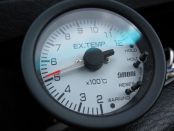
Lastly some good news. The fellas at www.s2forum.com and www.nordicaudi.com said that I really shouldn't be worried about my exhaust temperature of around 880 degrees. I measure that in the exhaust housing of the turbo. That's a HUGE relief.
EDIT: A few hours later I got 4.8 degrees in the center vent after just a few minutes. Phew! Still carefully optimistic though. =)
The AC madness continues!
Written by NEO July 14 2011 at 20:42. Last updated July 16 2011 at 21:53.
Crazy early this morning I headed back to the workshop for a new pressure test. They filled it up and bought out the digital nose that immediately went bananas when sniffing around the compressor and around the pipe I changed yesterday, GRAAAARGH! We soaked everything in some fluid in hope of visually detecting the leak but we didn't see a single bubble. After while we agreed that we should remove the hose they had connected to the valve on the compressor so we could rule out that one. It was a long shot but after all that hose wasn't a perfect fit since the compressor has a non standard low pressure valve from the Stone Age. And lo and behold! That did the trick! Once that hose was taken out of the equation the digital nose didn't detect any leaks!
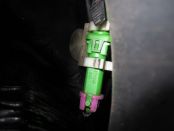
So with a big smile on my face and with a bigger smile on the mechanics face we started to fill the system. But when we were about to start the compressor it didn't start, GRAAAAAAARGH! I cracked the connector to the clutch open and cleaned it and soaked it in 5-56 and that did the trick, weeeha. So after an hour or something the system was filled and I was on my way home to the garage.
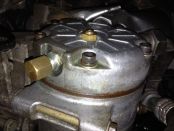
Once at the garage and when I was about to mount the front spoiler I heard a loud hissing sound. I tracked the sound to somewhere around the compressor and after a while I noticed that it was from the hat on the valve on the compressor. I called the workshop and he said that I should come back in and pick up a new hat, o gosh. Said and done, I jumped into the car and drove back in. At the workshop I removed the original hat and while doing that the sound got stronger and stronger up until the hat was completely removed. Once in my hand I noticed that the seal wasn't in its proper position so it had applied pressure to the pin in the valve causing it to eject the gas, good shit. =(
I seated the new hat and went back home and mounted the front spoiler. The functionality had been sporadic all the way since I left the workshop for the first time and I just thought that it was corrosion on the connector so I started to do a proper clean up of it but it didn't help. I took a look at channel 52 and 53 in the OBD and it indicates that the pressure is too low in the system, DOH! Not sure what's going on here and either they never got the correct pressure in it or all the gas leaked out due to the not properly seated hat. And yes... I'm going in again tomorrow. =/
I have looked at it myself this evening but there isn't really much I can do myself. I have shortened connector for the AC compressor safety valve and while doing that the compressor runs as it should. And from what I can read on the internet this concludes that the pressure is too low in the system...
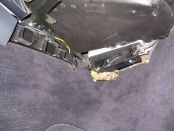
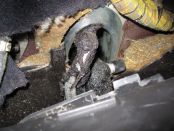
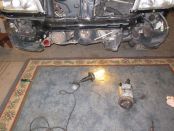
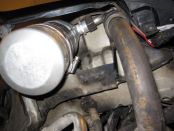
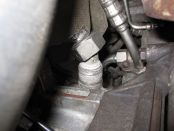
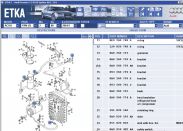
As seen on the pictures above I also removed the ECU to make sure that the AC pipes behind it were ok. From the look of it they are and I can't see any tracer fluid. But I admit that I'm a bit worried about those pipes since the ECU slides on the when removed and seated. I wonder if there's a better way to mount the ECU.
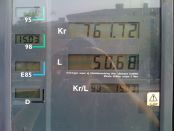
Oh yeah, I also had to fuel up the car again today. 98 octane fuel is above 15 SEK/litre now (1.6 EUR/litre, 2.3 USD/litre, 1.4 GBP/litre). I guess it's the beginning of the end. =(
To be continued...
Oil change and AC-repair
Written by NEO July 13 2011 at 20:55. Last updated July 13 2011 at 22:21.
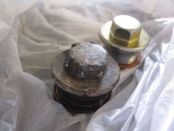
This is a catch-up post for the last few months up until today. In the beginning of June I gave the S2 some new oil and a new filter. When doing this I once again noticed that the oil plug was in a really bad shape. Luckily I bought a new one the last time I swore over it and after a while, and some more swearing, I found it in my own little spare parts stock. =)
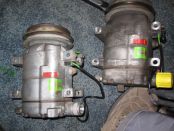
And yesterday I got the inspiration back and decided to exchange the broken AC-pipe that I bought three years ago (...you shouldn't really stress things like this ;)). I also got the bright idea to replace the AC-compressor since I have had a rattling sound from those neighborhoods. I actually bought a condenser, compressor and most of the pipes 5 years ago from some dude molesting an RS2 and I thought it was worth a shot to put that compressor on the car. Little did I know how much work that would be required and that I would kill a thread in the compressor bracket while doing it... I had it all back together late last evening and managed to get a time at a workshop today for a pressure test of the system and filling it up with R134. Unfortunately their digital nose detected a leak on the upper pipe on the compressor so it was just to put on the happy smile and pay up and go home and take it all apart again. =/ Oh, and also they managed to put another huge dent in my left side member. =( It's already on the list of things to fix but nevertheless very annoying.
Yesterday I bought what we though was the last o-rings Anders at Möller Bil had in stock, but today he managed to find another o-ring for me in their huge storage, happy face! =) So I went home and took it apart in anger and I decided to swap out the pipe between the drier and the compressor since it had some nasty corrosion on it. I had that pipe in the kit I bought 5 years ago and that one were in much better condition. So, with a pipe in better condition and new o-rings I hope it's okay and that it will hold pressure. I will go back to the workshop early tomorrow morning for a new pressure test and hopefully for a fill of R134.
When washing the car I noticed that polar bears had been chewing on my antenna during the winter so I ordered a new one from Möller Bil. I also ordered the antenna base which turned out to be a good thing because the new antenna does not fit on the old base. They didn't have the base in stock though and I'll probably get it later this week.
So, cross your fingers for tomorrows AC adventures! To be continued...
Spring update. Splash shields.
Written by NEO May 02 2011 at 07:10. Last updated July 16 2011 at 21:56.
My friend who have been welding the splash shields just changed job so he never got to finish the shields. Before he left the old job he did start to weld the splash shields but they are not completed yet. I thought it was a good time to get them back and just test them on the car and yes, the fit perfectly. Now we just have to complete the welding and grind the welds down and tidy it all up.
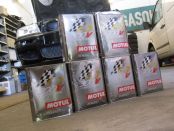
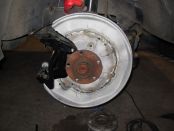
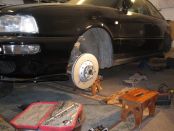
I also put the old brakes back on the car and lowered it back onto the ground. I think I will order myself some Motul oil and get the car through the annual MOT in the near future.
New caliper brackets for the V10s.
Written by NEO April 03 2011 at 01:58. Last updated April 03 2011 at 01:59.
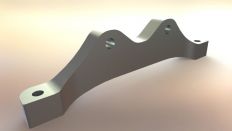
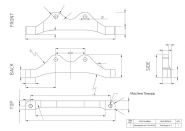
Today I dusted of my non existent SolidWorks skills and CAD'ed the new bracket. I'm pretty happy with the results and I'll just have to double check a few measurements before I send it of to the manufacturer.
Test fitting the RS6 V10 brakes on the car.
Written by NEO March 26 2011 at 14:51. Last updated March 26 2011 at 14:54.
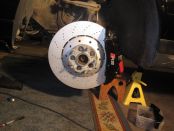
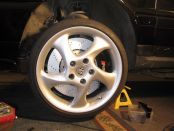
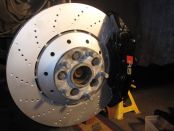
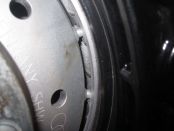
I spent a few hours in the garage today and tried the brakes on the car. I think I have the solution for the new bracket. I will use the original RS6 bracket as a starting point but new bracket will be rotated 180 degrees and adjusted so that the caliper is moved 4.5mm out from the bracket and also 2mm closer to the spokes of the wheel. That should do it.
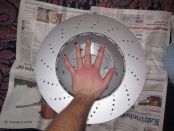
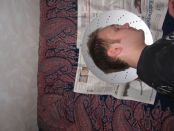
So how big are they really?
Written by NEO March 25 2011 at 20:28. Last updated March 25 2011 at 20:41.
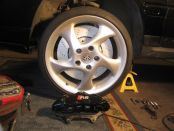
Yep, they're really that big. How much they weigh is another story...


